Contents
Whether you’re starting your T-shirt venture or expanding your catalog, mastering the art of design and logo placement on custom apparel can take your business to the next level. In this article, we will introduce you to the most effective print locations for logos and designs and the exact measurement for each location, as well as sharing some helpful tips to create a T-shirt that wins.
This article will focus on T-shirts, but many of the standards can be applied to other apparel, such as hoodies, crop tops, polo shirts, and long sleeves.
Let’s do this!
Understanding popular printing terms
Before we start, here are some common printing terms used in this article to help you communicate effectively and understand the process:
- Print location: This term refers to where the print will be placed on the garment. The print area and placement can vary within the print location, and it can slightly indicate the size and position of the print.
- Print placement: This is the precise spot where the print will be placed. However, this spot may be adjusted by a few inches due to the size of the garment, preference, and other factors.
- Print area: This is the area of the fabric that will be covered by the ink. It’s important to consider the print area when placing a print on a garment with pockets, seams, buttons, etc
- Print size: The exact measurement of the artwork to be printed. The print size, along with the print placement, will determine the print area. We highly recommend you to determine the exact print size before placing an order.
- Standard size: Each print location has a standard size that is applied when customers do not request a particular size. The standard size may vary a little bit based on the design and garments.
- Oversize: Oversize prints are anything bigger than the standard size. Oversize prints are not a common request, but they fall somewhere between standard and maximum size.
- Maximum size: The maximum size is also considered oversize, and it is the largest size that can be printed for a particular order. This size can also vary depending on the item and print method, but it is easy to request.
- Anchor point: The anchor point is especially useful for centering designs that are not naturally symmetrical. For example, if you were printing a design of a person on a t-shirt, the anchor point would be the center of the person’s body, not the midpoint of the design. This would ensure that the person’s head is centered on the t-shirt, even if the person is standing in a pose that is not perfectly symmetrical.
Now, let’s take a closer look at the most popular design and logo placement and the standard size for each.
Front design and logo placement on shirt
Front placement is probably the most common print location and is more likely to catch the audience’s attention. We’ll explain in more detail about each placement below and bonus a handy cheat sheet!
Center chest placement
The center chest placement is a popular and timeless option, and it’s almost always visible. We highly recommend using medium-sized designs, such as logos, words, or simple artwork for this location. The standard size for center chest placement would be 6’’ – 10’’ wide and 6’’ – 8’’ tall. Make sure that your design isn’t too high, low, or uncentered on your shirt. The design should be around 2.5’’ – 3’’ below the collar, and sit between the left and right seams.
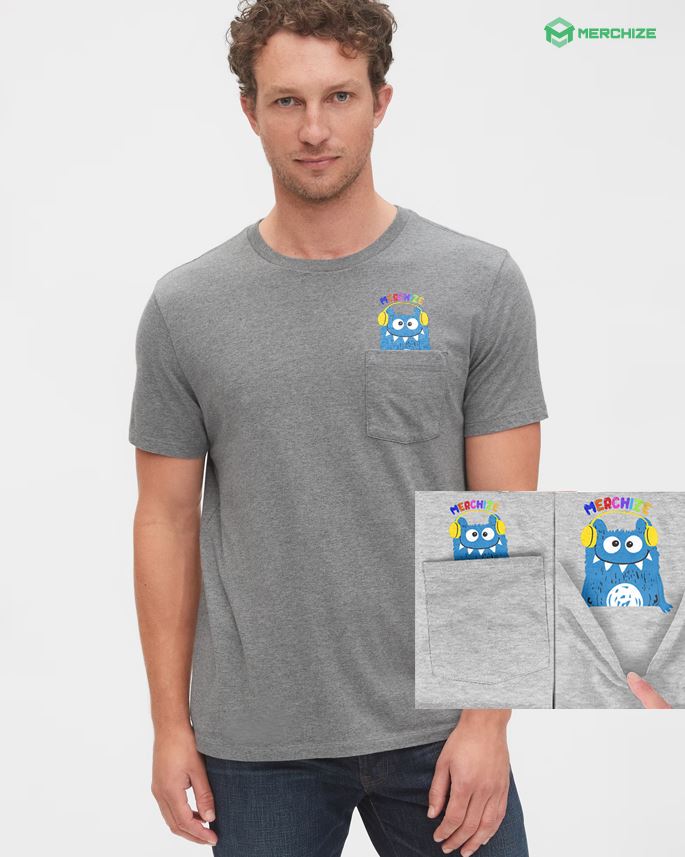
Left chest placement
Left chest is the go-to placement for company logos or group uniforms so logos, small artworks or short texts would work best. With this purpose, your design will need to be neat and clear, avoid putting on too much detail because the audience will not have enough time to figure it out. The size for left chest placement is typically around 2.5’’ – 5’’ wide, 2.5’’ – 5’’ high, and around 3’’ down from the collar. However, you can always adjust the placement to harmonize with the overall of the shirt.
Full front placement
For this placement, we suggest applying 10’’ – 12’’ wide and 10’’ – 14’’ tall designs, and around 3’’ down from the neckline.
Full front designs can be detailed, complex and bold, however, always make sure that you use the high-quality files to avoid blurriness in the final print. Moreover, full front designs can take up the majority of the print area on the front of your shirt, and if you use screen printing, you can end up with a “sweat patch” on your T-shirt, which isn’t breathable and comfortable for the wearer.
Oversize front placement
As the name suggests, oversize front print is anything bigger than the standard-sized full-front. An oversized front printing ranges from 12’’ – 15’’ wide and 14’’ – 16’’ tall, however, in some cases, you can’t go up to 14’’ wide due to the garment size, such as kids size, smaller ladies’s size, tank tops, etc. Oversize front placement typically starts higher than a center chest or full front placement, about 2’’ – 3’’ down from the collar.
Though certain designs work well in oversize, you still need to consider the surface area where the ink will cover when printing this size. As we’ve explained above, creating a “heavy print” without breathability wouldn’t be a great idea to wear all day long, and this can affect the customer experience. For oversize front placement, we suggest you to reduce the ink coverage as much as possible to make the shirt more light, flexible, and comfortable to the wearer.
-
Back design and logo placement on shirt
The back of a t-shirt is the second-most-popular print location after the front. Here are something you need to know if you’re going for this placement:
Upper back placement
Upper back placement is a popular choice for uniforms and usually calls for medium-sized designs, similar to the center chest placement. Some common examples for this placement are the security or staff event’s uniform. The standard size is 10’’ – 14’’ wide and 1’’ – 6’’ tall for the audience to read it from a distance. Make sure that the design is around 4’’ down from the collar.
If you are placing your design on the upper back of a t-shirt, use wide and short designs to maximize the space. If your design is at the maximum width and still looks too small, try using a taller font instead of stretching the font, which will distort it and make it harder to read.
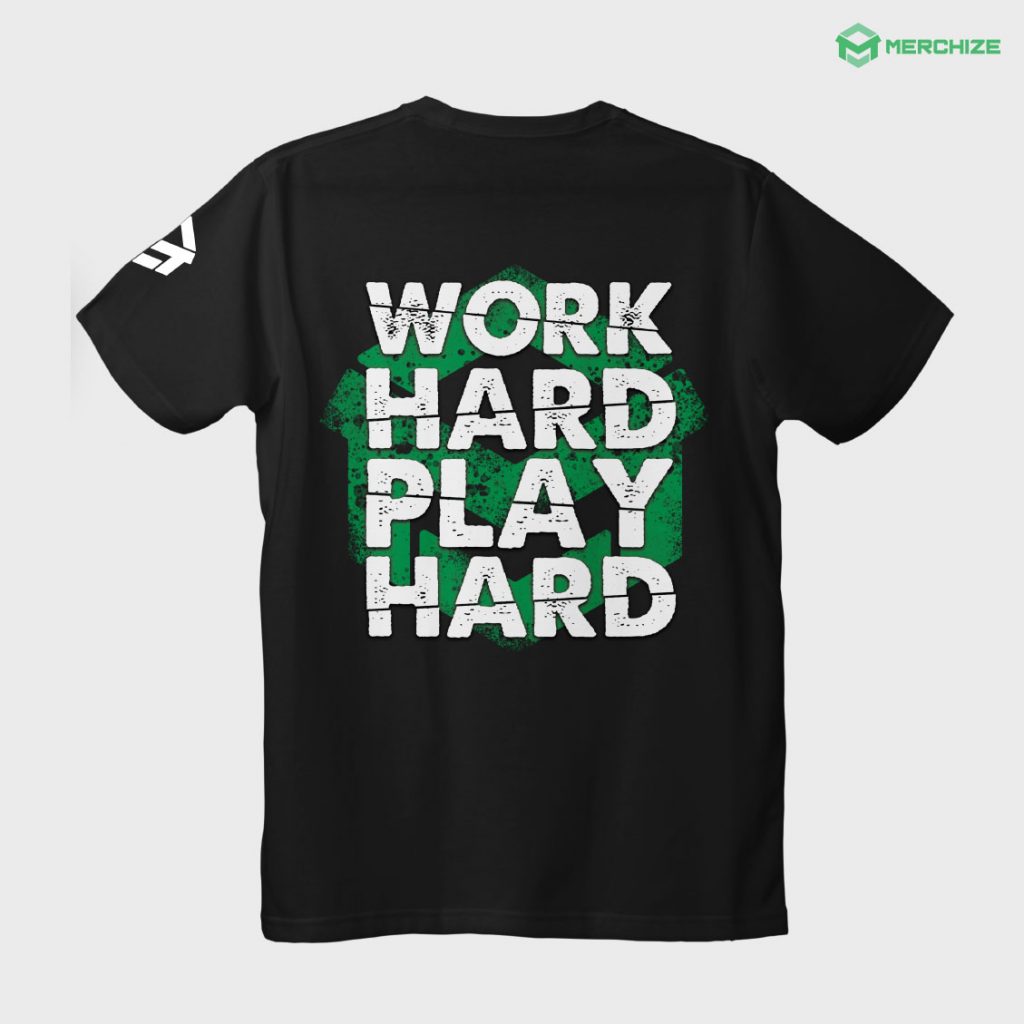
Full back placement
The full back is a great choice for large or complex designs or even logo placement. If you’re making T-shirts for an event with multiple sponsors, you can represent their sponsorship levels by tiers. The logos at the top of the shirt would be larger and more noticeable, representing the highest-tier sponsors, with the logos below them getting smaller and smaller.
Full back designs are quite similar to the full front, but you can go up 10’’ – 14’’ wide and 6’’ – 15’’ tall. For full back design, we recommend you to combine with a design on the front, or sleeve, or both to enhance the whole look.
Sleeve design and logo placement on shirt
Sleeve placement is a stylish and distinctive way to showcase your brand elements like logos, patterns, graphics, or even taglines. A design on the sleeve can add visual interest to your T-shirt and make it stand out from popular front or back placements.
However, the sleeve area is smaller than the front or back of the shirt, so you need to carefully consider the size, readability, and proportionality of your design. That’s why we recommend small prints for this area. The standard size is around 3’’ wide x 1.5’’ height, but you can go up to 4.5’’ wide (not recommended unless your logo is very wide), or as small as 1’’ wide.
Here are some additional tips for an effective sleeve logo placement:
- Choose a simple logo design that will be easy to read and understand, even at a smaller size.
- Avoid using too much text in your logo.
- Use high-contrast colors to make your logo stand out.
- Consider placing your logo on the left or right sleeve, depending on where you want the focus of your design to be.
- Experiment with different sleeve placements to find the one that looks best with your design.
Seam-to-seam design and logo placement on shirt
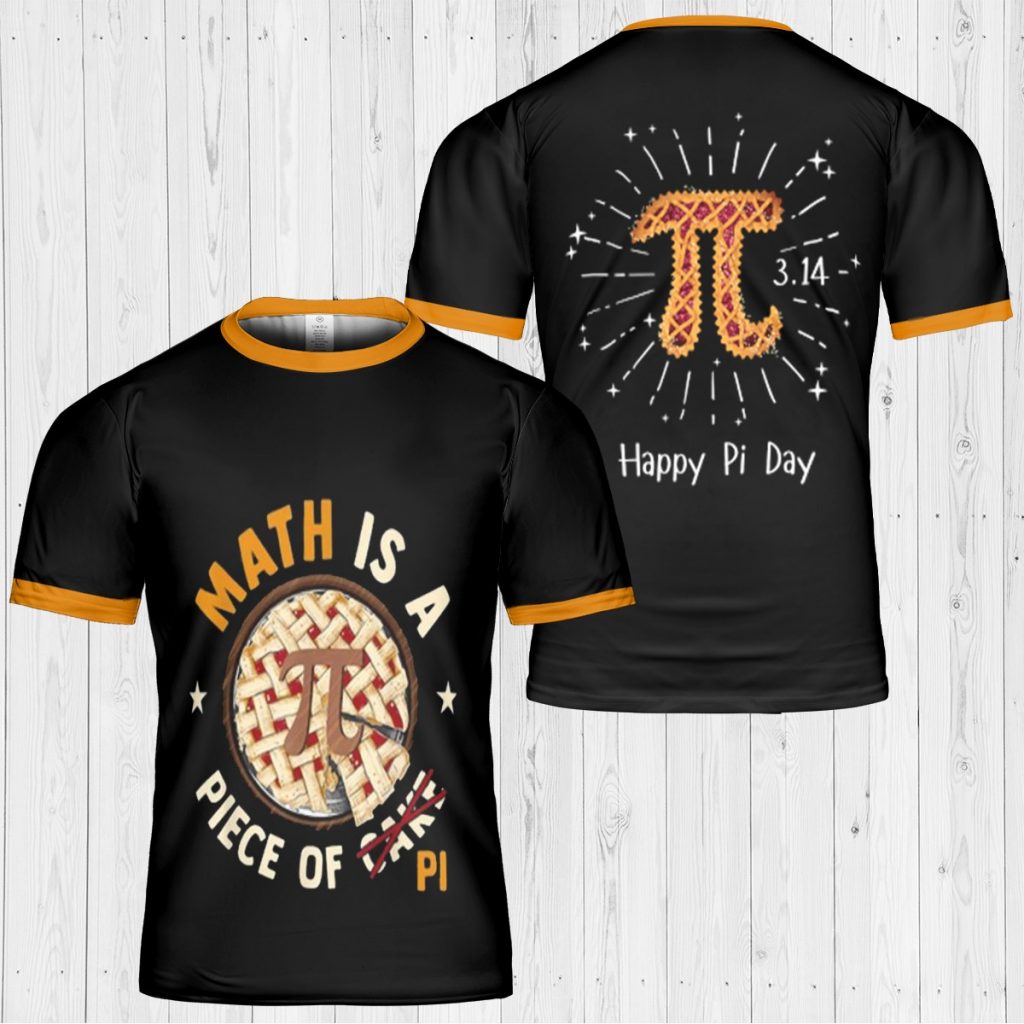
At Merchize, we offer seam-to-seam design placement, which is also known as all-over print (AOP) to help sellers bring their endless creativity to life. AOP products allow sellers to design the entire front, back, and sleeves of a T-shirt, giving you full control over your design and creating an extraordinary product with unique patterns. Moreover, AOP is the solution for seam-to-seam placement as the ink blends into the fabric’s fiber, keeping the material breathable and soft to the touch even after printing.
You can also check out our blog post to find out the right T-shirt fabric to elevate your customer experience.
Though there’s no standard limit for the design size in seam-to-seam placement, it’s important to keep your design fits the safe area of the mock-up to avoid any cut-offs. You just need to make sure that the patterns won’t touch the collar or cross the seam. And don’t forget to take a last look at your design before sending it out for production – to make sure that everything is in place.
In case you’re having trouble remembering all these measurements, we’ve got this handy cheat sheet for you!
| Logo Placement on T-shirt | Width (inches) | Height (inches) | Space from collar
(inches) |
| Center Chest Placement | 6’’ – 10’’ | 6’’ – 8’’ | 2.5’’ – 3’’ |
| Left Chest Placement | 2.5’’ – 5’’ | 2.5’’ – 5’’ | 3’’ |
| Full Front Placement | 10’’ – 12’’ | 10’’ – 14’’ | 3" |
| Oversize front placement | 12’’ – 15’’ | 14’’ – 16’’ | 2" – 3" |
| Full back placement | 10’’ – 14’’ | 6’’ – 15’’ | 3" – 4" |
| Upper back placement | 10’’ – 14’’ | 1’’ – 6’’ | 4" |
| Sleeve placement | 3’’ | 1.5’’ | – |
| Seam-to-seam placement | – | – | – |
Popular combinations for design and logo placement
If you’re looking for a way to elevate your T-shirt design and convey your message better, we’ve got some suggestions for you:
- Sleeve designs with small logos or design can go with front and chest placement
- Full back design are frequently paired with left chest or center chest placement
- Combine left chest designs and logos with upper back or full back designs to enhance the visual appearance.
These suggestions are based on our experience, however, you can always go beyond the limit and have fun exploring different combinations!
In closing
After all, creativity is about thinking outside the box. The suggestions in this article are simply as it is: suggestions. The best design and logo placement for your custom apparel will depend on the specific concept and the overall look you’re aiming for.
