
Contents
Embroidery has long been admired for its ability to elevate garments with intricate and elegant patterns. As print on demand services continue to gain popularity, learning how to make embroidery designs for this business model has become increasingly important for designers and entrepreneurs alike. In this comprehensive guide, we will explore the process of creating captivating embroidery designs specifically tailored for print on demand services. We will delve into the essential aspects of this creative journey, from design conception to digitization and collaboration with print on demand providers, ensuring your embroidered creations captivate a broad audience and make a lasting impression.


Understanding the Basics of Embroidery Design
Before diving into creating your own embroidery designs for print on demand, it’s crucial to establish a solid foundation in the basics of embroidery design. Gaining an understanding of the fundamental elements and techniques will enable you to produce high-quality, visually appealing designs that translate seamlessly to the print on demand process.
The Importance of High-Quality Designs
High-quality embroidery designs not only look professional but also ensure better results when printed on garments. Focusing on creating detailed, well-executed designs will make your products stand out in the competitive print on demand market and attract more customers.Popular Embroidery Design Software
To create your embroidery designs, you’ll need to use specialized software that caters to embroidery design creation. Some popular options include Wilcom, Brother PE-Design, and Embrilliance. These programs offer various tools and features that help streamline the design process and ensure your designs are optimized for embroidery.Different Types of Embroidery Stitches and Techniques
There are numerous stitches and techniques used in embroidery, each offering a unique look and texture. Some common stitch types include satin stitch, running stitch, and fill stitch. Familiarizing yourself with these stitches and their applications will help you create more diverse and intricate designs.Choosing the Right Colors
Color selection is a vital aspect of embroidery design, as it can significantly impact the final product’s appearance. When choosing colors for your designs, consider factors such as fabric color, thread quality, and how the colors will appear once embroidered. Working with a limited color palette can simplify the design process and yield more consistent results.Understanding Embroidery File Formats
Different embroidery machines and software programs utilize specific file formats to interpret and execute your designs. Some common formats include PES, DST, and EXP. Knowing which format is required for your chosen print on demand service will ensure a smooth transition from design to production. By gaining a strong understanding of the basics of embroidery design, you’ll be well-equipped to create stunning and professional designs that will resonate with your target audience and elevate your print on demand offerings.How to make embroidery designs
Taking the plunge into creating your own embroidery designs for print on demand can be both an exciting and rewarding experience. To ensure your designs are visually appealing and translate well to embroidery, follow these essential steps:Step 1: Finding Inspiration and Developing Your Concept
The first step in creating your own embroidery designs for print on demand is to find inspiration and develop a concept that reflects your artistic vision and aligns with your target audience’s preferences. Here are some tips to help you find inspiration and develop a strong concept:- Explore Various Sources of Inspiration: Look for ideas in different places, such as fashion trends, nature, architecture, traditional embroidery patterns, and cultural motifs. Social media platforms like Pinterest and Instagram can be valuable resources for discovering design inspiration and staying up-to-date with current trends.
- Identify Your Target Audience: Understand the preferences and expectations of your target audience. Consider factors such as age, gender, interests, and cultural background to create designs that resonate with your potential customers.
- Develop a Unique Style: Strive to create a unique and identifiable style that sets your embroidery designs apart from competitors. This may involve experimenting with different techniques, color combinations, or design elements to develop a signature look.
- Sketch Your Ideas: Use pencil and paper or digital sketching tools to visualize your design concepts. Sketching helps you refine your ideas and identify potential issues before committing to a final design.
- Create Mood Boards: Mood boards are a useful tool for organizing and developing your design ideas. Collect images, colors, patterns, and other elements that inspire you, and arrange them on a physical or digital board to help visualize your concept and ensure consistency across your designs.
- Refine Your Concept: Once you have gathered inspiration and developed a clear vision, refine your concept by making necessary adjustments and ensuring it aligns with your brand identity and target audience’s preferences. This may involve reevaluating color schemes, design elements, or the overall theme of your design.
Step 2: Choosing the Right Software – Creating Your Design in Canva
Canva is a popular graphic free design tool with embroidery design capabilities that’s perfect for beginners. Here’s how to create an embroidery design in Canva:
Create a new design in Canva
Open Canva in your web browser and click the “Create a design" button. Choose “Custom size". If you’re using an embroidery hoop, set your design to be an inch larger than your hoop size. For example, set your design to be 8×8 inches if you use a 7-inch hoop. If you’re stitching your design onto something else, such as an art canvas, set your design to be the same size as your canvas and leave a border around it.Add a circle to your design
Adding a circle to your design can help you visualize how your final design will look. Find a circle shape in the “Elements" section of Canva and make it the same size as your hoop. Resize the edges until you have the size you want and move the circle to be central and symmetrical within your design.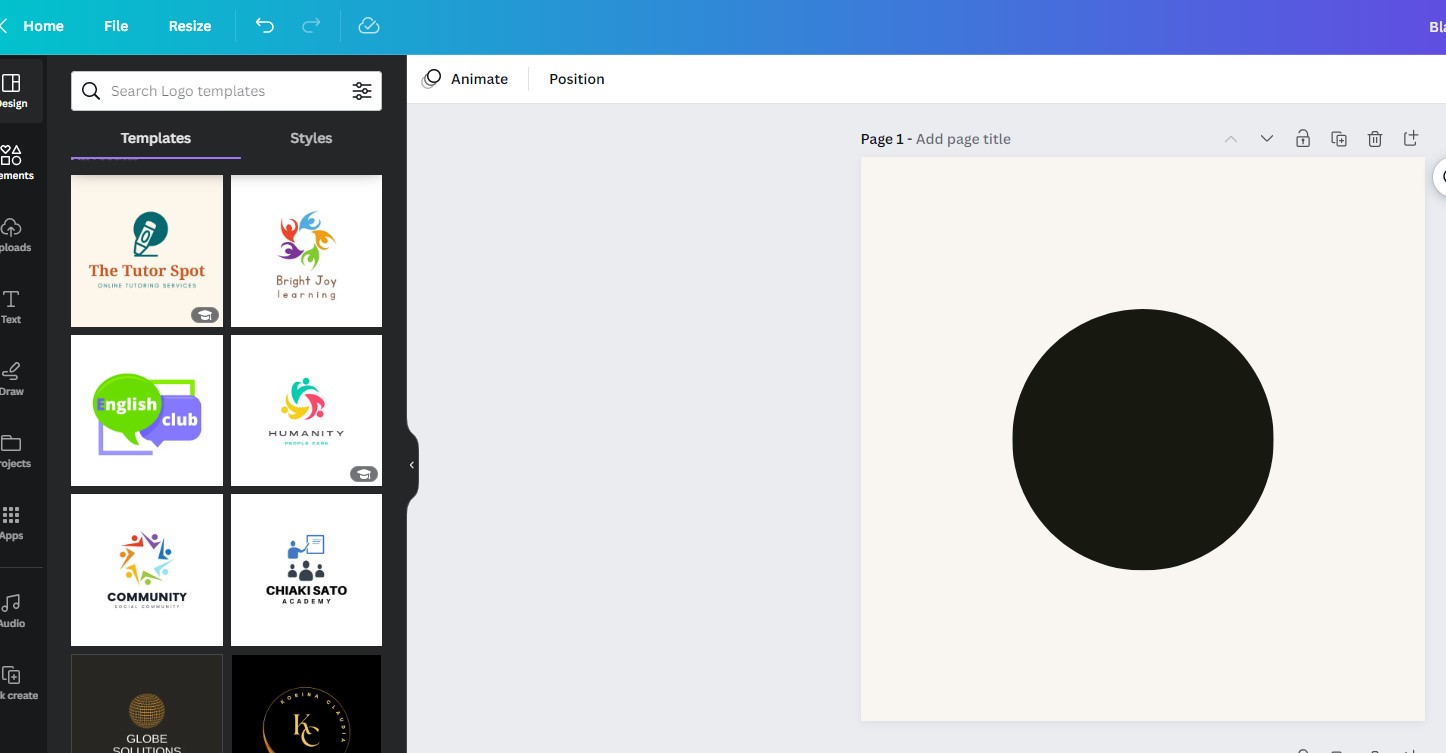
Import your image(s) into Canva
Upload any images you want to use onto Canva using the left-hand menu. You can also find free images on sites like Pixabay or use Canva’s repository of free images. Check the commercial terms of any images you use if you plan to sell your embroideries or patterns.Add your images or text to your design
Arrange your images and text to create your design. You can also adjust the size of each element as you go. Once you’re happy with your design, download it and print it onto paper. Download your design as a PDF and print it onto paper to ensure it looks as you intended before uploading it to a third-party provider. Using Canva is an easy and accessible way to create your own embroidery designs for print on demand. With its user-friendly interface and a vast selection of design elements, you can quickly bring your creative vision to life.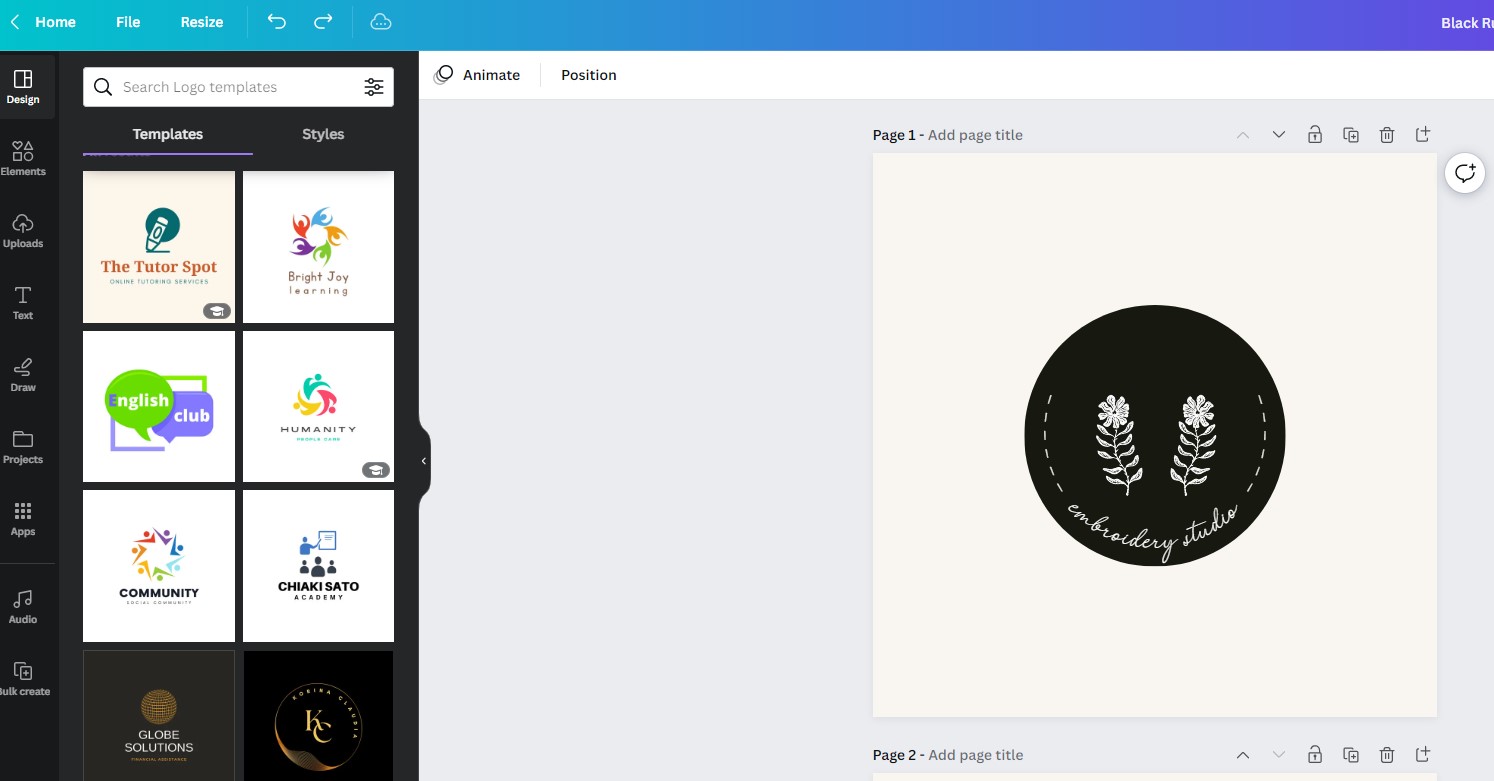
Step 3: Follow Embroidery Guidelines
Before you start digitizing your design, it’s important to familiarize yourself with the technical aspects of embroidery. Each print-on-demand provider and embroidery machine has its own set of requirements, so be sure to review their guidelines carefully. Some common guidelines include the maximum stitch count, thread colors, and minimum letter height. Make sure your design is optimized for embroidery by simplifying the color palette and reducing small details that may not translate well to stitching. You can also use a tool like the stitch simulator in your embroidery software to visualize how your design will look once it’s stitched.Step 4: Digitize Your Design
Digitizing is the process of converting your design into a format that an embroidery machine can read. This process involves assigning stitches to specific areas of your design and defining the stitch type, length, and direction. If you’re not familiar with digitizing, seek out tutorials or take a class to learn the basics. Many embroidery software providers offer training and support resources to help you get started. Once your design is digitized, you can preview it using the stitch simulator and make any necessary adjustments. When you’re satisfied with the final product, save it in the appropriate file format for your print on demand provider and embroidery machine.Step 5: Upload Your Design to a Print on Demand Provider
Once your design is complete, it’s time to upload it to your print on demand provider. Most providers allow you to upload your design directly through their website or using an API integration with your embroidery software. Follow the provider’s file format and size requirements to ensure your design is accepted. You can also preview your design on different product mockups to ensure it looks as intended before making it available.Step 6: Promote Your Designs
Now that your designs are available for purchase, it’s time to promote them and drive traffic to your print on demand store. Utilize social media, email marketing, and other digital marketing channels to showcase your designs and reach your target audience. Consider partnering with influencers or running ads to increase your reach and drive sales. You can also use analytics tools to track your performance and make data-driven decisions about your marketing strategy.You may also like: How to market t-shirts on social media: Tips & Techniques
The Best Products for Embroidery
When it comes to embroidery, not all products are created equal. Some products lend themselves more naturally to embroidery than others, and certain materials may require additional preparation or care to ensure a high-quality finished product. Here are some of the best products for embroidery:- Clothing: Clothing items, such as t-shirts, hats, and jackets, are popular choices for embroidery designs. Look for high-quality fabrics that are sturdy enough to withstand the stitching process without becoming distorted or damaged.
- Accessories: Accessories like bags, backpacks, and totes also make great canvases for embroidery. Choose products made from durable materials, such as canvas or leather, for the best results.
- Home Decor: Home decor items, such as pillowcases, table runners, and wall hangings, can be elevated with the addition of embroidery designs. Look for fabrics that are thick enough to support the weight of the stitching and that won’t fray or unravel easily.
- Baby Items: Embroidery can add a personalized touch to baby items like blankets, bibs, and onesies. Look for soft, breathable fabrics that won’t irritate a baby’s delicate skin.
- Pet Accessories: Pet accessories like collars, leashes, and bandanas can also benefit from the addition of embroidery. Choose sturdy materials that can withstand the wear and tear of daily use.
Tips for Ensuring High-Quality Embroidery on Your Print on Demand Products
Seeking high-caliber embroidery for your tailored print on demand items? Ensuring top-notch results is paramount for customer delight and forging a stellar brand reputation. Heed these invaluable pointers:- Material matters: Choose wisely, as not all fabrics are embroidery-friendly. Opt for high-quality, durable materials such as cotton, polyester, or blended fabrics. Evade delicate, stretchy, or highly textured alternatives.
- Collaborate with embroidery virtuosos: Harness the expertise of renowned third-party print on demand embroidery providers like Printful or Printify. These companies possess state-of-the-art machinery, skilled operators, and a wealth of experience.
- Design with precision: Embrace simplicity and clarity, ensuring well-defined lines and minimal intricate details. Utilize high-resolution vector files (e.g., .ai, .eps, or .svg) for optimal scalability without sacrificing quality.
- Color mastery: Exercise restraint, limiting your palette to 5-6 colors. A surplus of shades introduces complexity and heightens the risk of errors during the embroidery process.
- Size for success: Striking the perfect balance between overly large and too small is essential. Aim for a design size between 3 and 4 inches to prevent fabric distortion or loss of detail.
- Communication is key: Work closely with your chosen third-party service, discussing the nuances of your design, stitch types, and other specifications. Their expertise will help identify the best approach for your vision, ensuring a high-quality final product.


